Mustang, Part 9: Return to Jomsum
Back to: Mustang Index
|
||
Mustang, Part 9: Return to Jomsum
Back to: Mustang Index |
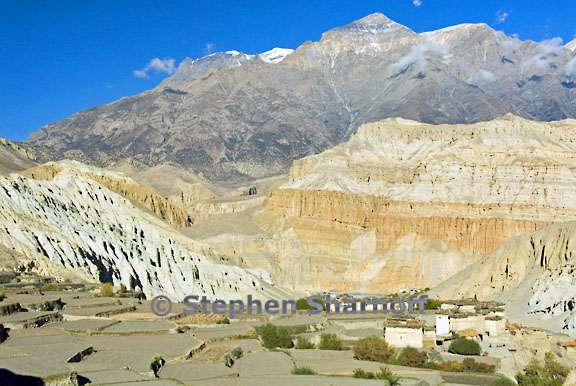
Image 1. Tetang in the morning
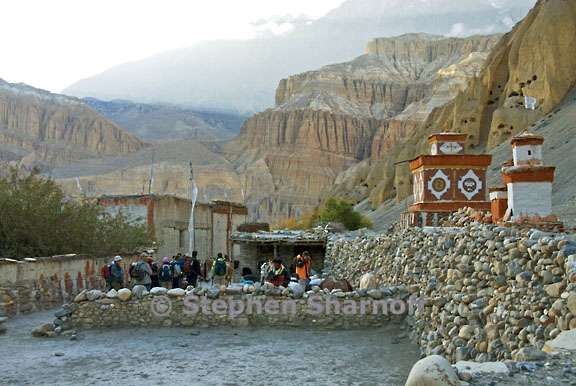
Image 2. Tetang with the trekking group; a chorten is on the right
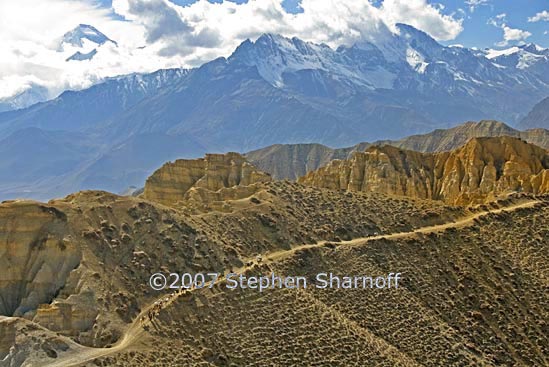
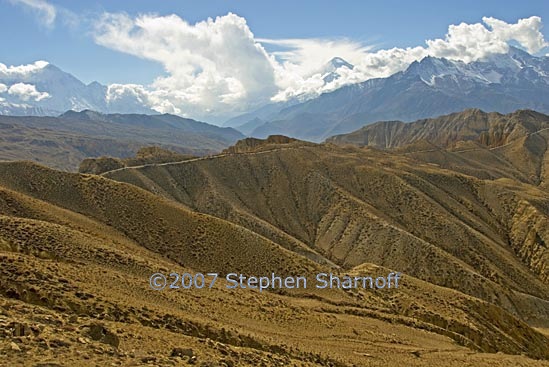
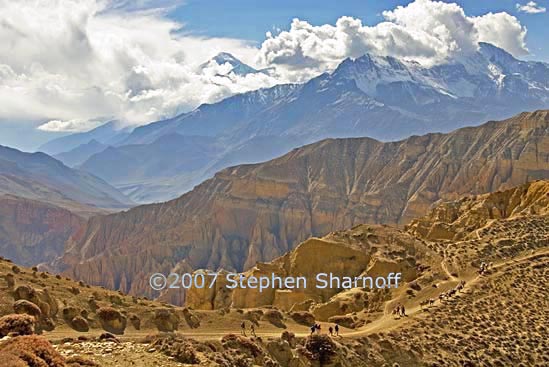
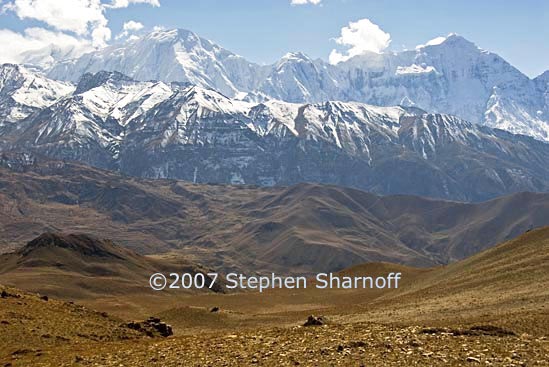
Image 3. The trail through the Siyarko Tang Danda with Dhaulagiri in the clouds
Image 4. The trail through the Siyarko Tang Danda
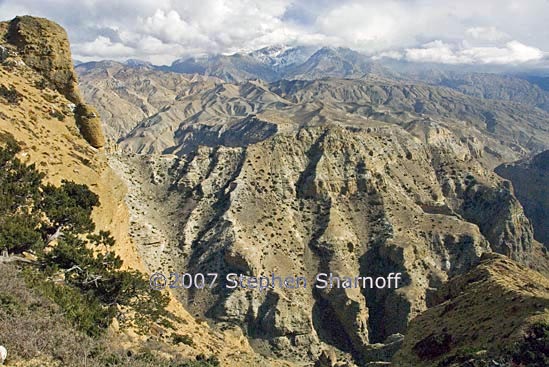
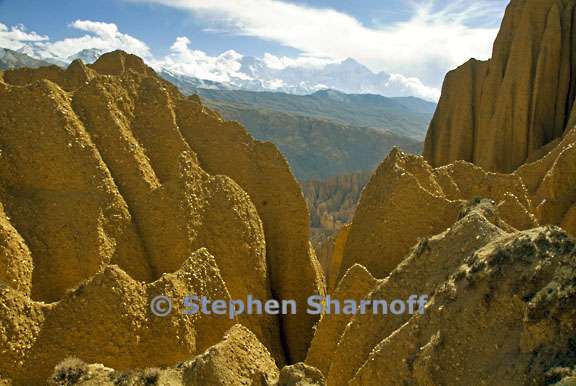
Image 5. Canyon and peaks in the Siyarko Tang Danda
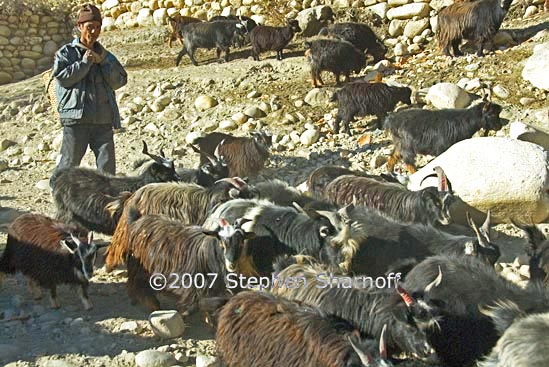
Image 6. Herding goats
Image 7. The trail through the Siyarko Tang Danda with Dhaulagiri in the clouds
Image 8. The trail through the Siyarko Tang Danda with Dhaulagiri in the clouds
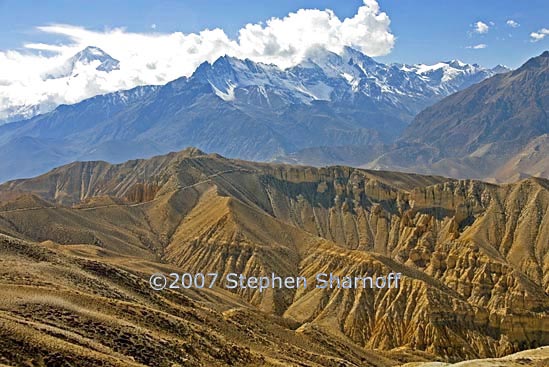
Image 9. The Siyarko Tang Danda
Image 10. The trail through the Siyarko Tang Danda with Dhaulagiri in the clouds
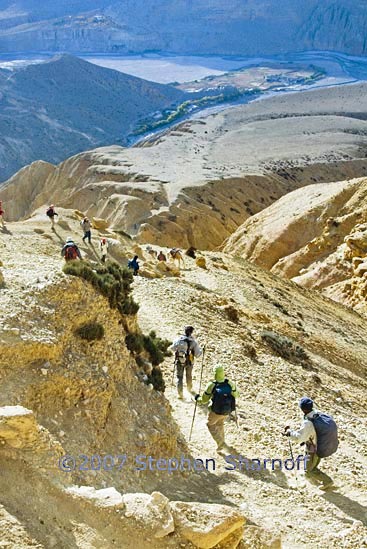
Image 11. Descent from the Siyarko Tang Danda
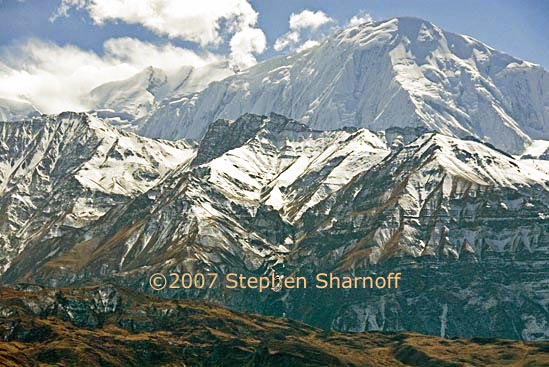
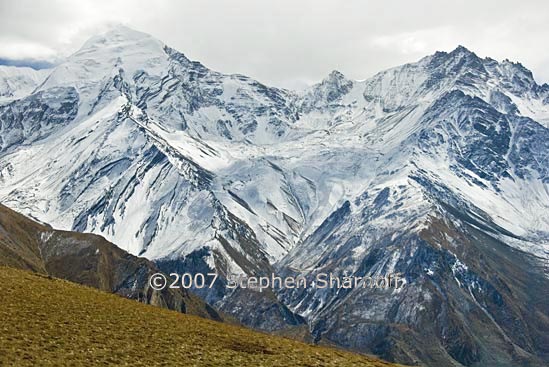
Image 12. Annapurna Range from the Gya La
Image 13. Annapurna Range from the Gya La
Image 14. Annapurna Range from the Gya La
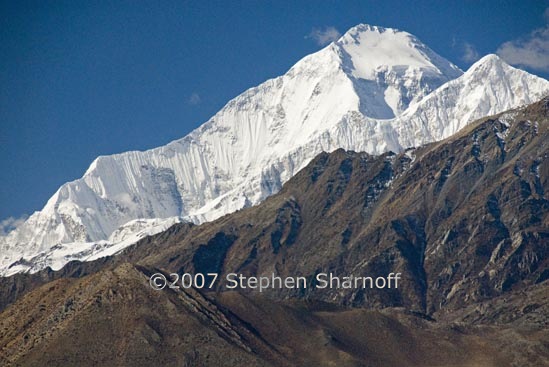
Image 15. Dhaulagiri from south of Tetang
Image 16. Dhaulagiri from south of Tetang
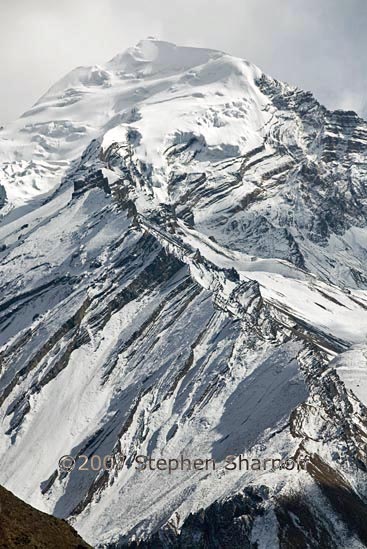
Image 17. Thorung Peak from the Gya La
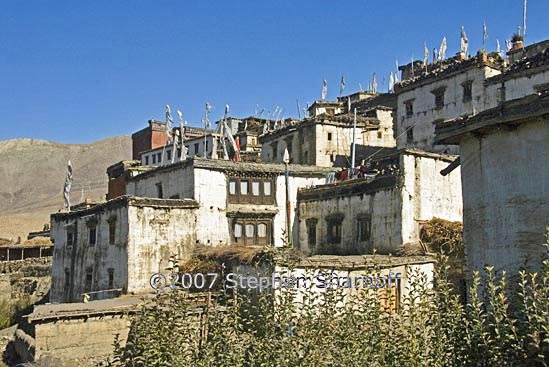
Image 18. Jharkot
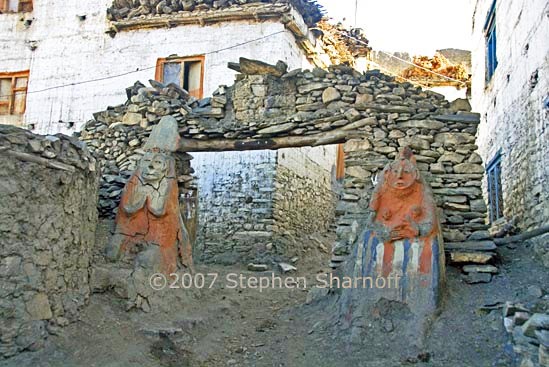
Image 19. Village statues at Jharkot
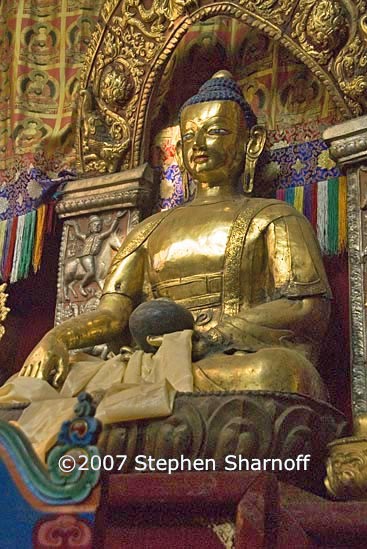
Image 20. Statue of Buddha at the Jharkot Monestery
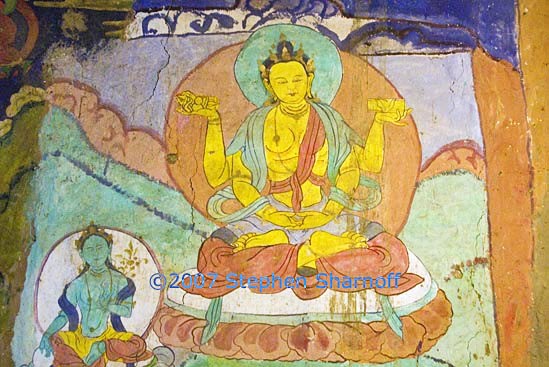
Image 21. A painting at the Jharkot Monestery
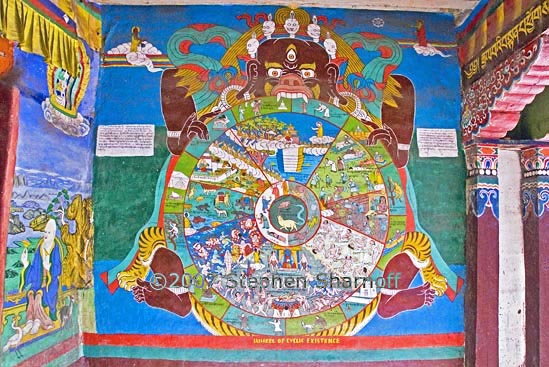
Image 22. Painting of the Wheel of Life at the Jharkot Monestery
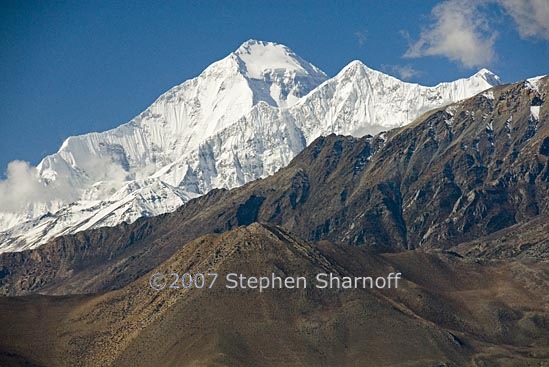
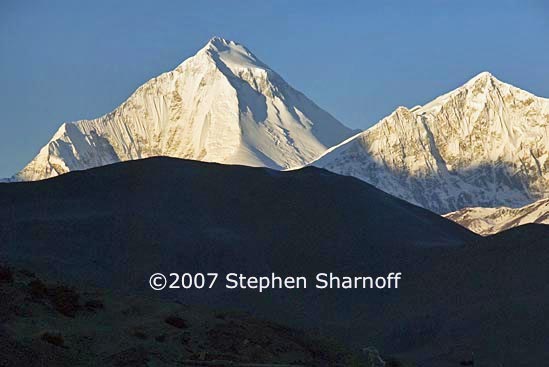
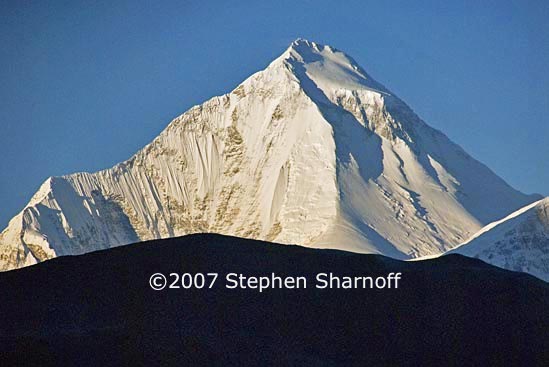
Image 23. Dhaulagiri in the morning, from Muktinath
Image 24. Dhaulagiri in the morning, from Muktinath
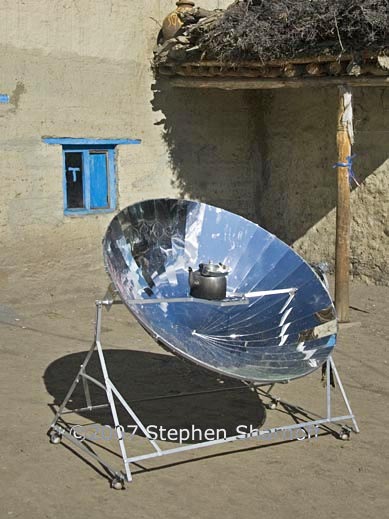
Image 25. Heating tea in a solar cooker, Muktinath
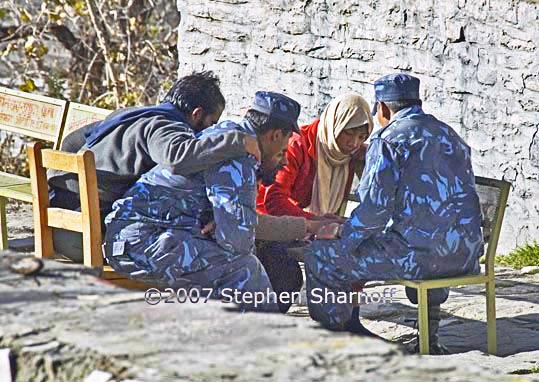
Image 26. A game, probably gambling, Muktinath |
Back to: Mustang Index |
|